BitLocker is a security feature that can help you protect your data by encrypting it. It basically acts as a lock to secure all your data stored in the Windows hard drive and is therefore only accessible to those who have its recovery key. If you have confidential data on your laptop and if your work demands travelling, or working in an unsecured environment, then encrypting your hard drive with BitLocker is sure to relieve you from any data theft. If you already use Windows 10, this article lists out the easiest way to guide you to enable BitLocker on Windows 10 Pro, Enterprise and help you protect your data.
BitLocker is only available is Windows 10 Professional Edition, Windows 10 Enterprise or Education edition and is unavailable in Windows 10 home edition. BitLocker also works best if your computer contains a Trusted Platform Module (TPM).
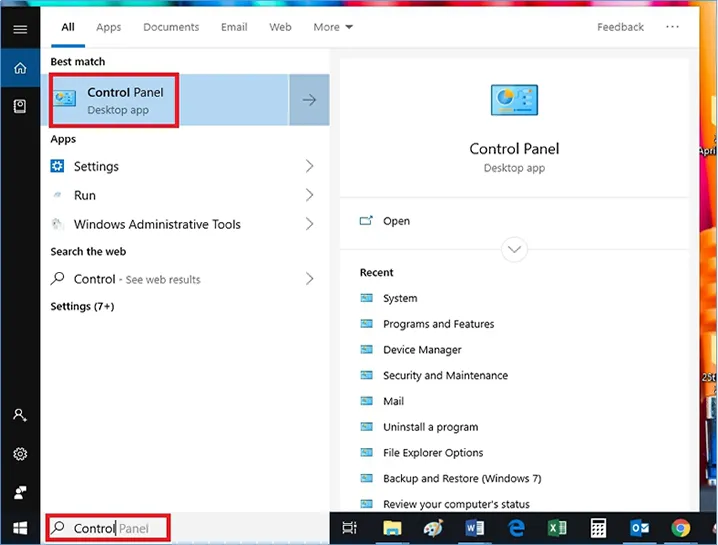
The easiest method to enable BitLocker in Windows 10 Home edition is by going to the Control Panel on your computer. Type "Control" on your search bar and the first option that appears is "Control Panel". Click on it.
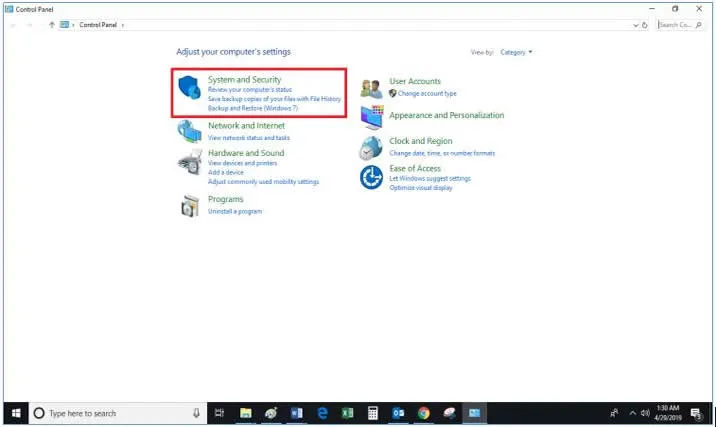
Click on "System and Security"
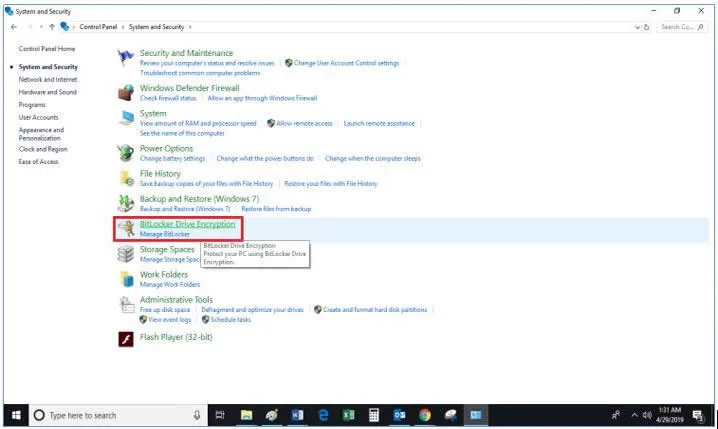
Under the security option, you will get "BitLocker Drive Encryption". Click on it.
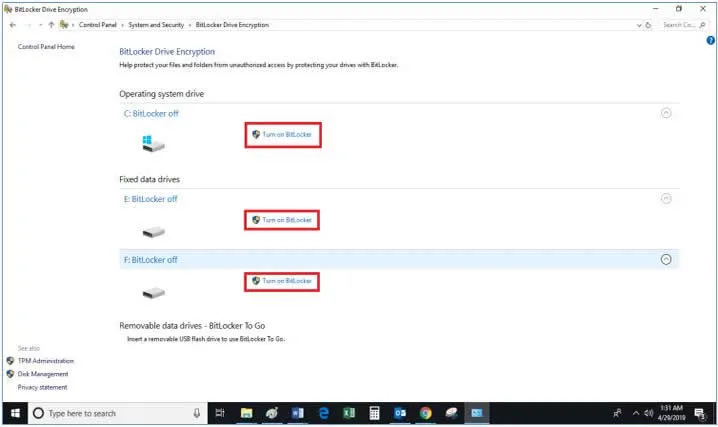
All the drives or partitions that your computer has will have the option to turn on BitLocker. You can choose the particular Windows drive whose data you want to encrypt by clicking on "Turn on BitLocker".
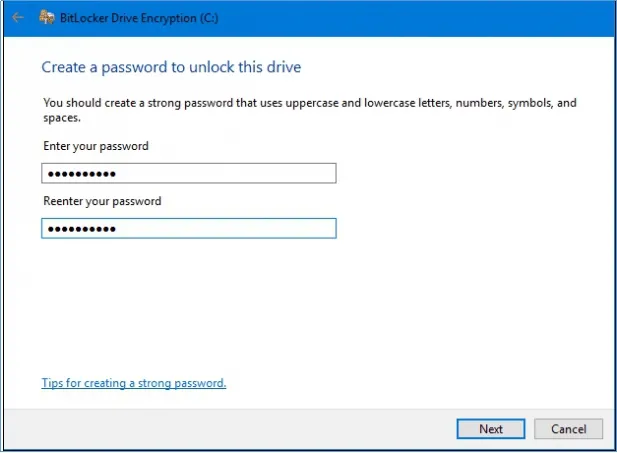
Once you click on the turn on button, the system checks whether your computer has TPM enabled. If it meets the system requirements, then a pop-up like below appears which asks you to enter the password of your choice to unlock that particular drive. The password must contain both uppercase and lowercase letters, numbers, symbols and special characters.
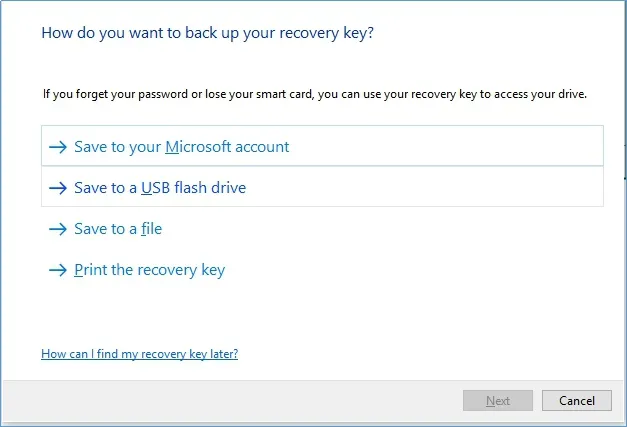
Once you choose a password, a prompt will come to back up your recovery key. A recovery key can be used to access the drives in case you forget the password you entered. Please make sure to save it to a location which is secured and from where it is easily available.
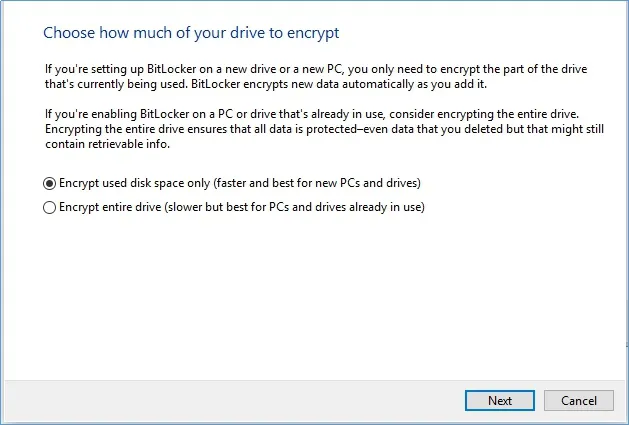
Once done, the "Next" button gets activated. Click on it and the prompt pops-up asking you to choose whether you want to encrypt your full drive or just the used space. For computers that are new, just encrypting the used disk space is enough. However, if there are a lot of data in your drive and is almost full, you can choose to encrypt the full drive, this process will take time.
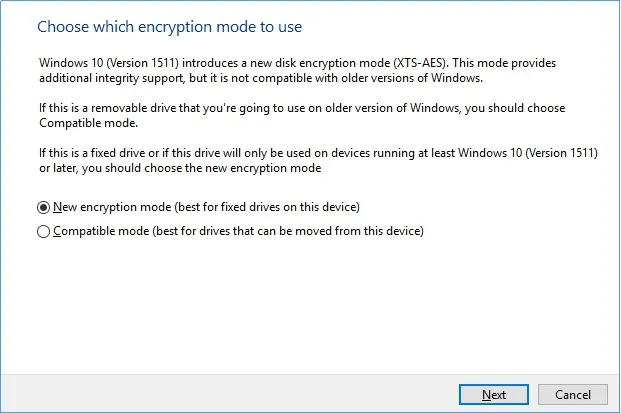
If you are using the latest window 10 updates then the next window will take you to another dialogue box which will prompt you to choose the encryption mode. Here, if you are encrypting the hard drive that is fixed, then choose the first option. But in case you are encrypting a removable drive that can be used on other devices as well, then choose the second option.
If you are doing it for drives other than the Operating C, you will straight away be asked to click on "Start Encrypting". However, for the operating drive, there will be a system check before the encryption starts and the system would also restart. Click on "Continue" to let BitLocker start the system check and start the encryption. Once the system restarts, you will need to enter the password we had set up in the earlier steps. Your PC will get started and now under the "Manage BitLocker Encryption" window, the status will appear as "Drive Name: BitLocker Encrypting"
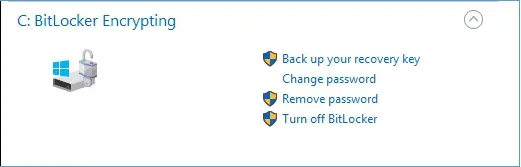
You can work on your computer and the encryption will continue in the background. Once that is completed, the status would change to "Drive Name" BitLocker On". Just follow the steps above to enable bitlocker in Windows 10 Pro.

Nadine is the Editorial Director at PassCue Studio. You can also find her on social network.